How to Install a Car Stereo Step by Step Guide?
In the world of automotive music, Car Stereo Installation is a crucial aspect. A well-installed car stereo significantly enhances driving experiences. According to a recent industry report, about 70% of drivers want better sound quality in their vehicles. This demand highlights the importance of proper installation techniques that can make a substantial difference.
However, many people overlook the installation process. They often underestimate the complexity involved. A survey revealed that nearly 40% of individuals attempting DIY installation face issues. This leads to frustration and potentially costly mistakes. Understanding the steps involved in car stereo installation is essential for achieving the best results and smooth operation.
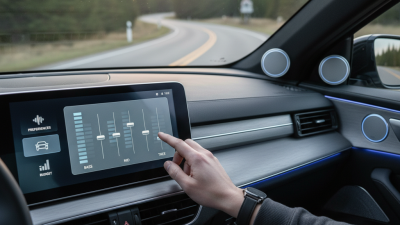
With advancements in technology, modern car stereos offer various features. These include Bluetooth connectivity, smartphone integration, and advanced sound settings. Yet, improper installation can negate these benefits. It can cause systems to fail or perform poorly. This guide aims to provide a step-by-step approach to ensure your car stereo is installed correctly, enabling you to fully enjoy your driving experience.
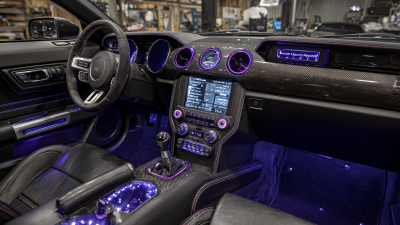
Understanding Car Stereo Components and Types
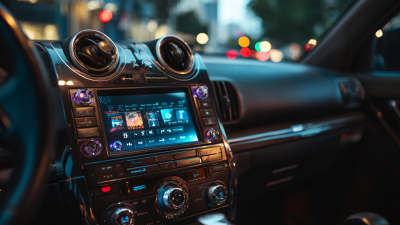
When choosing a car stereo, understanding its components is crucial. A basic car stereo setup includes a head unit, speakers, and possibly an amplifier. The head unit is the hub—it controls everything. It plays music, connects to your phone, and often has a digital display. Look for features like Bluetooth or USB ports for convenience.
Speakers come in various types, including coaxial and component speakers. Coaxial speakers combine multiple elements into one unit, making installation easier. Component speakers separate elements for better sound quality but require more setup. An amplifier enhances sound clarity and power. It’s especially helpful for larger or upgraded speakers.
Installation mistakes can happen. Ensuring proper connections is essential. Take your time, label wires, and double-check connections. A poorly installed stereo can lead to sound issues or electrical problems in the car. Reflecting on this can save future headaches. Paying attention to detail in your setup can significantly enhance your audio experience.
Necessary Tools and Equipment for Car Stereo Installation
When preparing to install a car stereo, having the right tools and equipment is essential. A basic toolkit should include a screwdriver set, wire strippers, and electrical tape. Make sure to gather a socket wrench for removing bolts. Additionally, having a trim removal tool can help prevent damage to your dashboard.
Tips: Always check for compatibility before purchasing tools. Not all vehicles require the same equipment. Reflect on your previous experiences and adjust your toolkit accordingly. A few extra tools can save time during installation.
You might also need a multimeter to test connections and battery voltage. A good quality harness adapter can simplify the wiring process. Don't forget to have zip ties on hand for a clean installation. Be mindful that mistakes often happen. Taking a moment to review each step can prevent overlooking crucial details.
Step-by-Step Installation Process for Car Stereos
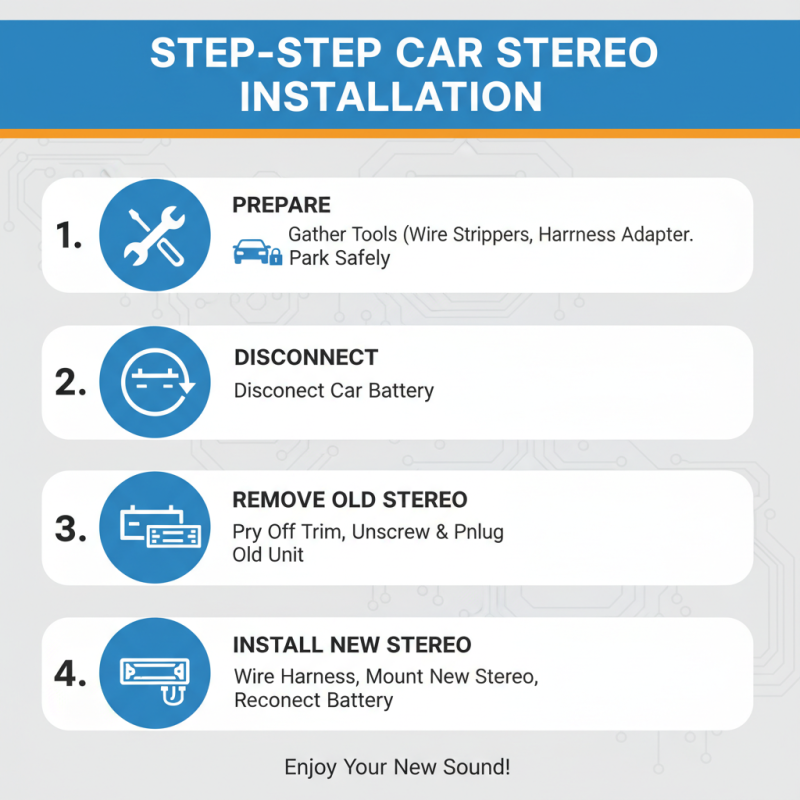
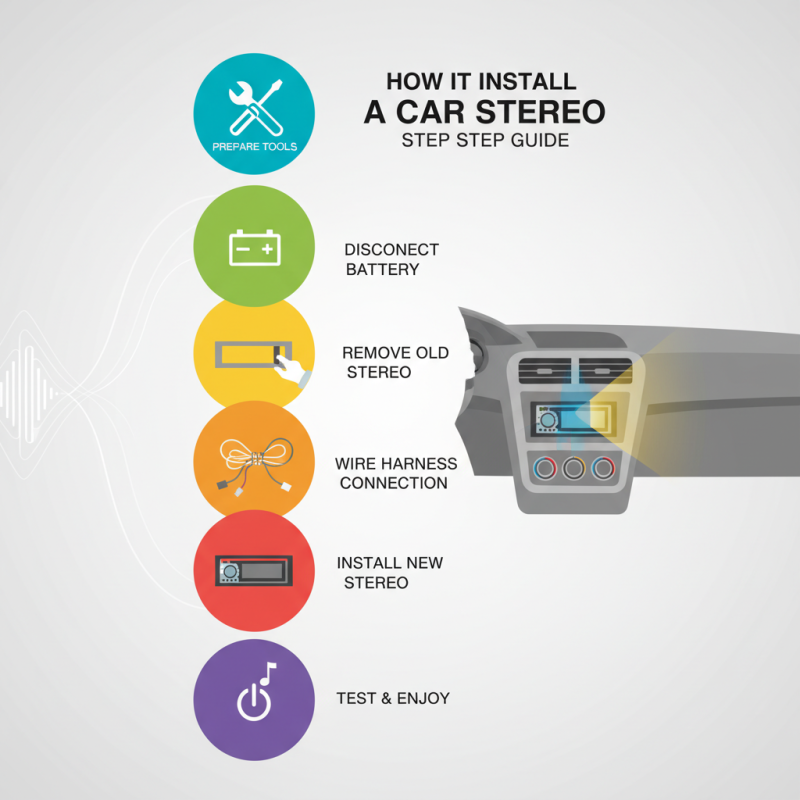
Installing a car stereo can seem daunting, but with the right approach, it can be a fulfilling project. Start by gathering essential tools like screwdrivers, wire strippers, and a wiring harness adapter. Before diving in, ensure the car is parked safely. Disconnect the battery to prevent any electrical mishaps during installation.
Next, remove the old stereo. This usually involves taking off the dashboard trim and unscrewing the stereo unit. Keep track of screws and parts, as they are vital for reassembly. Disconnect the wiring harness from the back of the old stereo, noting which wires are connected. This will help you with the new installation. When connecting the new stereo, follow the wiring diagram carefully. Misconnections can lead to malfunctioning systems.
Once everything is connected, test the stereo before putting the dashboard back together. Adjust settings and check the sound quality. It’s common to face glitches or wiring errors, so being patient is essential. If something doesn’t work, take a step back and review your connections. Install the stereo securely and reassemble the trim. A smooth installation greatly enhances your driving experience. Enjoy the music!
Common Wiring Schemas and Connection Techniques
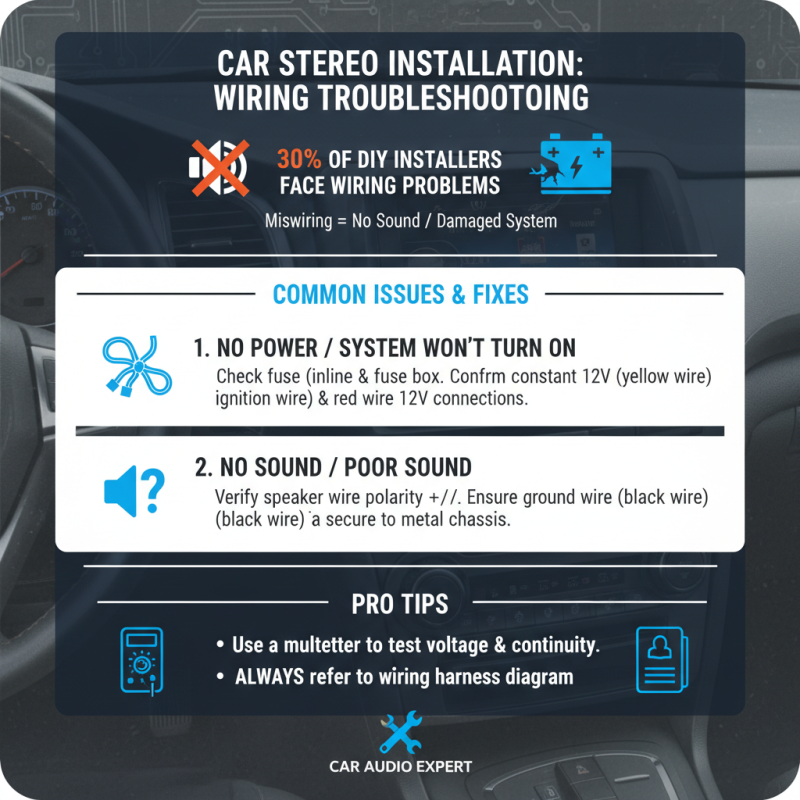
Installing a car stereo requires careful attention to wiring schemas and connection techniques. Understanding these elements is crucial for a successful installation. According to industry standards, approximately 15% of car audio installations experience issues due to improper wiring. This statistic highlights the importance of a solid foundation in electrical knowledge.
Wiring schemas vary by stereo type and vehicle model. Common wires include power, ground, speaker, and remote turn-on wires. Typically, a red wire indicates power, while black signifies ground. A blue wire often connects to the amplifier. For accurate connections, color-coding and diagram references are vital. However, some users disregard these details, resulting in malfunction or even damage to the stereo.
Connection techniques also play a significant role. Soldering or utilizing crimp connectors ensures a stable link, but many choose the easier route of twist-on connectors. Studies show that poorly executed connections can lead to audio quality loss and system failure. Proper insulation and secure connections are essential for longevity. Neglecting these factors could mean revisiting your work sooner than expected.
How to Install a Car Stereo Step by Step Guide? - Common Wiring Schemas and Connection Techniques
| Step |
Description |
Common Wiring Color |
Connection Technique |
| 1 |
Disconnect the battery |
N/A |
N/A |
| 2 |
Remove old stereo |
N/A |
Unscrew & Pull out |
| 3 |
Connect wiring harness |
Red (Power), Black (Ground) |
Twist and Electrical Tape |
| 4 |
Install new stereo |
N/A |
Insert & Secure Screws |
| 5 |
Reconnect battery |
N/A |
N/A |

 +86-18126757325
 CONTACT NUMBER
 CONTACT NUMBER